Sleeping bags and pads
The sleep system is a hot topic among backcountry users, and for good reason! The shelter that you bring into the mountains can easily be the difference between a comfortable night’s sleep or a night of restless agony rolling around on that rock that always seems to be pressing into your back. Out of all the equipment in one’s pack, none seem to be given as much thought as the sleeping bag and pad. These two items work in direct correlation with each other and the performance of one directly depends on that of the other. The backcountry user needs to balance between weight and packability while not carrying gear that is overbuilt for the job. The goal of this article is to give considerations so you can stay comfortable in your tent at night and not have to heavy or bulky a pack during the day.
Sleeping bag materials: Sleeping bags share many of the same materials as any other outdoor clothing. They primary fall into two different categories: down and synthetic. Each category has its own pros and cons and many folks feel strongly about one or the other. I personally own sleeping bags from both categories and will use them in different situations depending on weather, temperature, what shelter I’m using, and the objective.
Synthetic sleeping bags
Pros: Cons:
Still maintains heat when wet Heavier than down
More durable material Packs bigger than down
Stays warm when compressed
Cheaper than down
Down sleeping bags
Pros: Cons:
Lighter weight than synthetic Doesn’t hold heat when wet
Packs down smaller Doesn’t stay warm when compressed
Less durable than synthetic
More expensive than synthetic

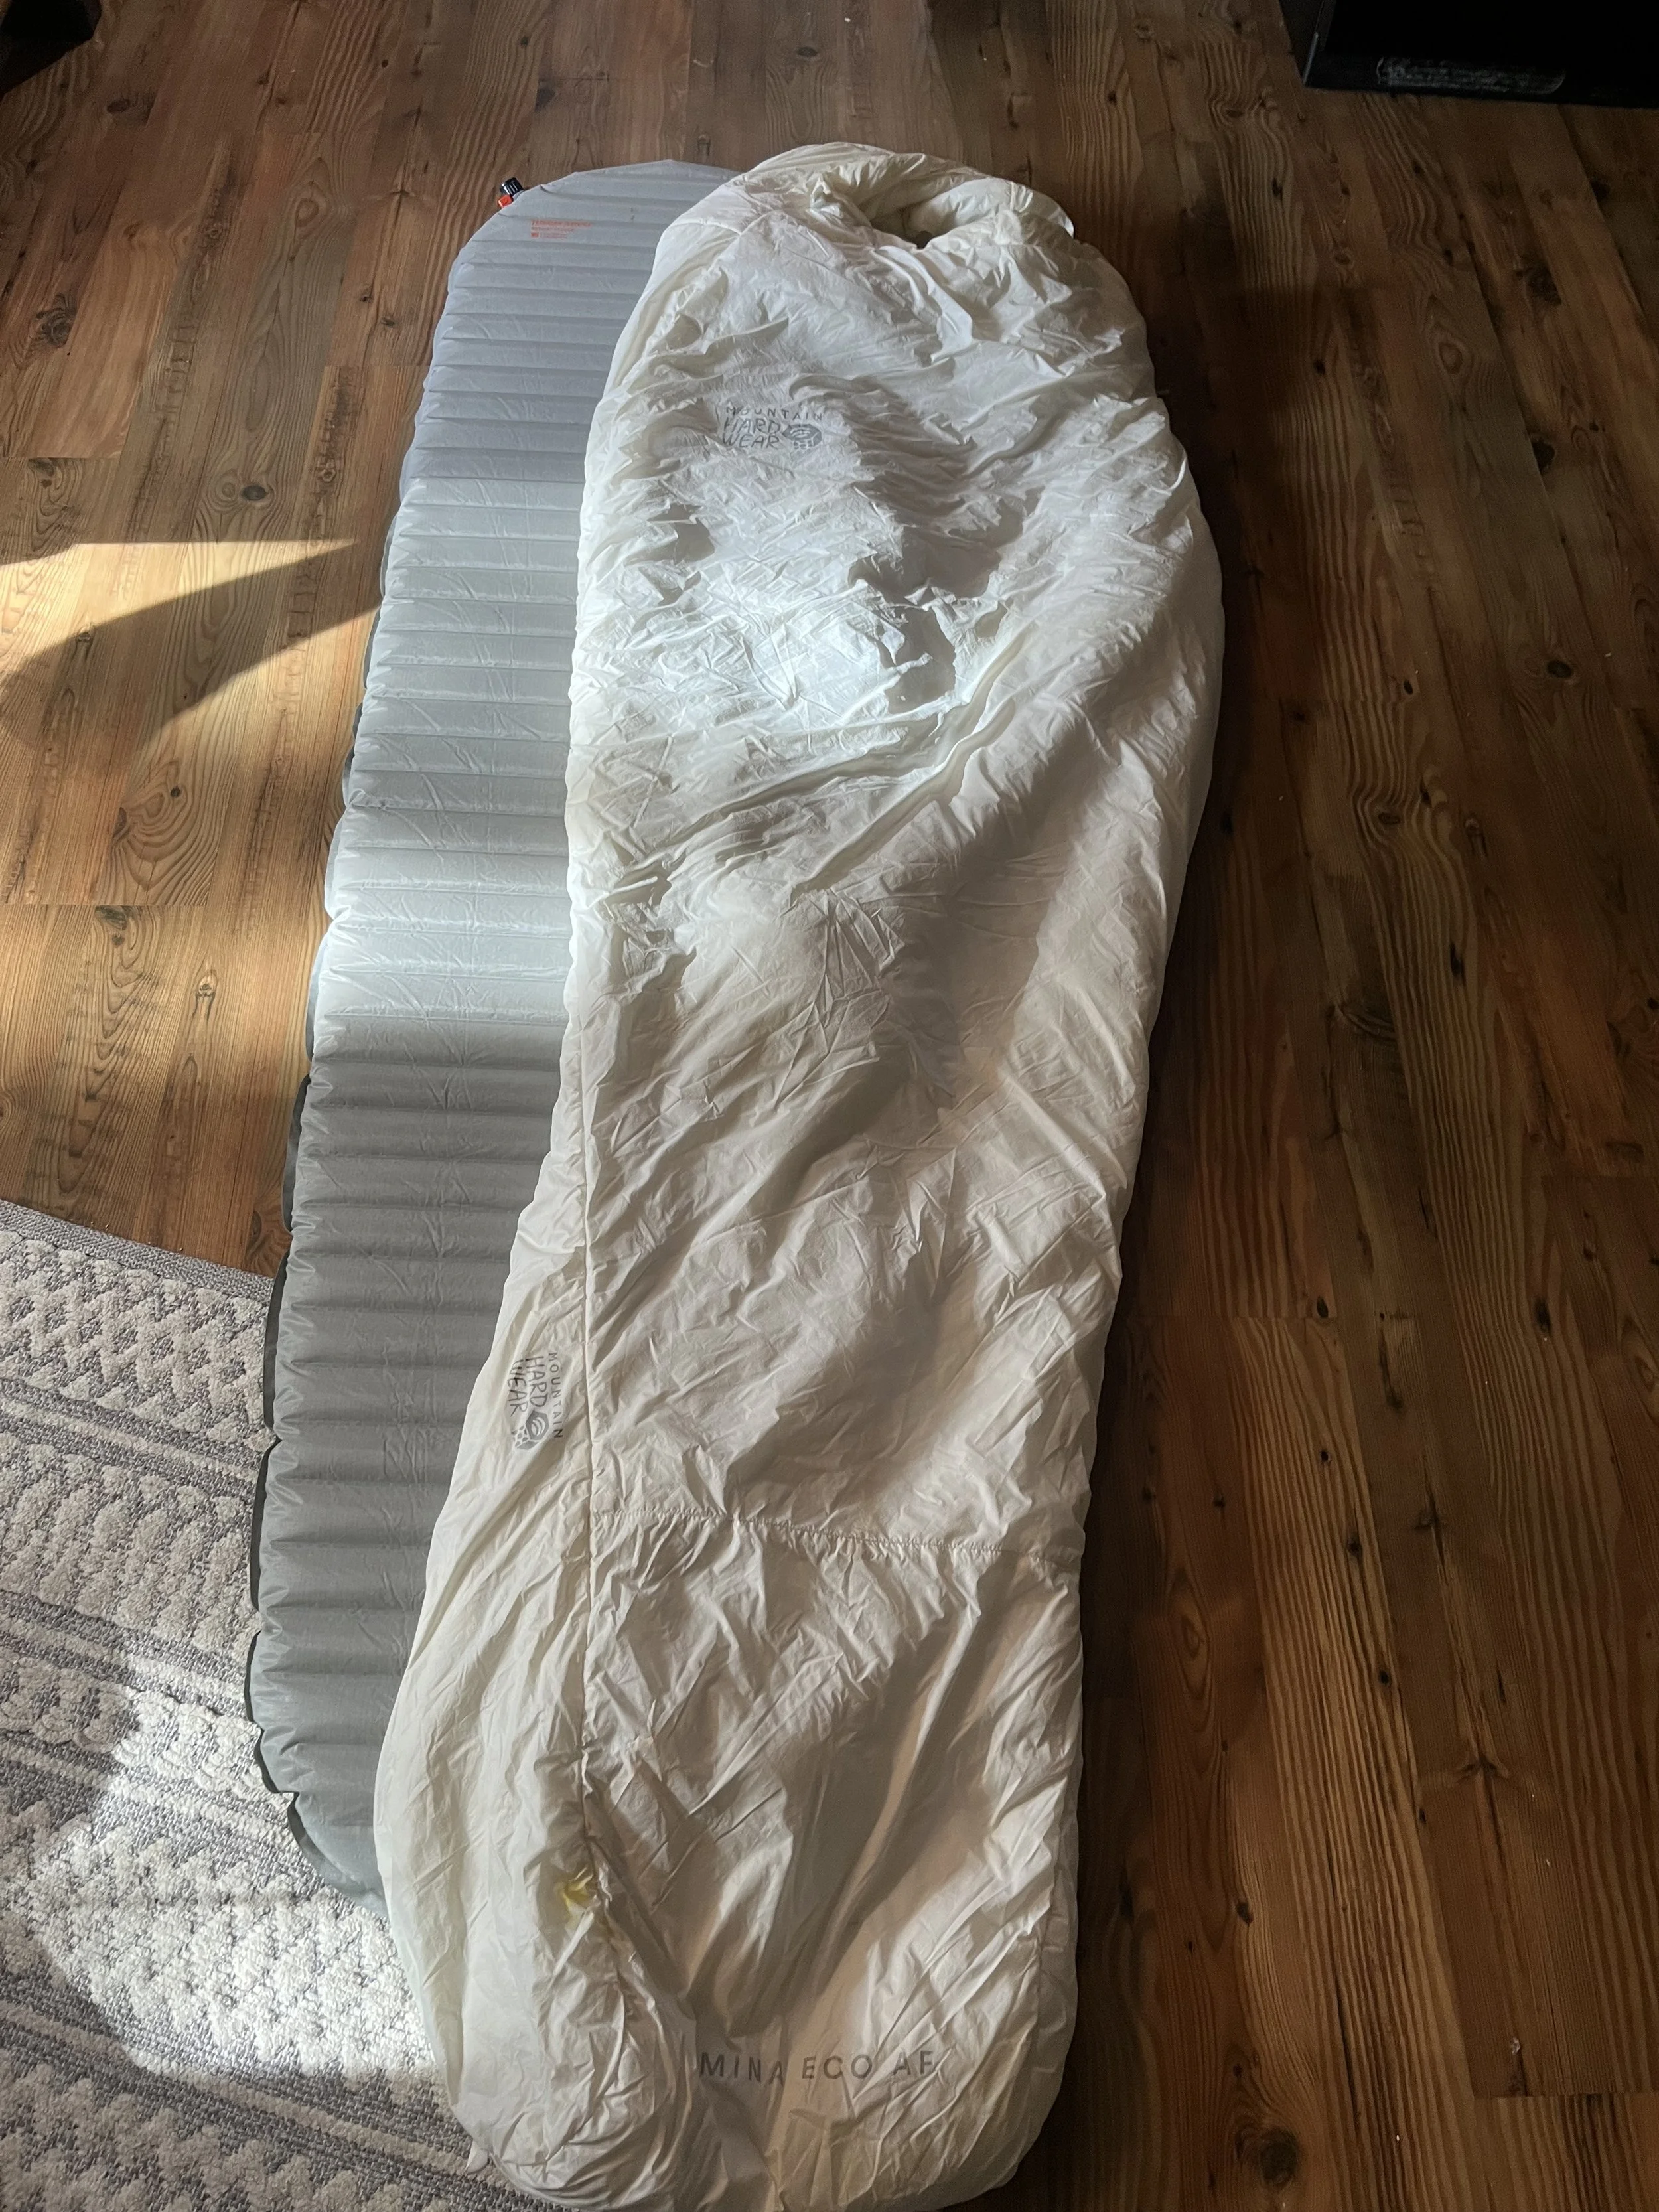
Two 15- degree sleeping bags, left is synthetic, right is down- Nalgene water bottle for scale.
In my experience it’s best to have multiple sleeping bags for the different times of year and objectives, my personal preferred sleeping bag quiver is: 0- degree down bag, 15- degree synthetic bag, and a 30- degree down bag. I’ve found this quiver to be the most versatile while not cleaning out your bank account.
Sleeping bag ratings: On any sleeping bag you buy you will see three numbers listed as the rating system. These are the comfort rating, limit rating, and extreme rating. Most sleeping bags are advertised and named off of the limit rating- for example my 30- degree down bag is called the Phantom Alpine 30, but the comfort rating is 37 degrees, the limit is rated at 27, and the extreme is rated at -2. If you’re a cold sleeper you’ll want to go off of the comfort rating more than the limit. The sleeping bags are all tested by a third party to rate the bags so you will find more or less the same performance across all companies.
Sleeping pad materials: Sleeping pads on the whole are a lot simpler than the bags, you either have a foam pad or an inflatable pad (or sometimes no pad and you sleep on the ground). You could scroll through the camping forums for hours and see many die- hard opinions for one over the other, but in my experience, I like to use both for (you guessed it) different situations!
Foam pads
Pros: Cons:
Doesn’t pop Bulky (usually have to attach it to the outside of your pack.)
Very durable (it’ll last your whole life) Won’t be as warm as inflatables
Easy to make into a chair
Cheap
Quiet to sleep on
Inflatable pads
Pros: Cons:
Packs down small (always can go inside your pack.) It will pop
Warmer than foam Noisy (like you’re lying on a bag of potato chips.)
Expensive
In my personal pad quiver, I usually have at least one foam pad, a really light- weight inflatable, a mid- weight inflatable, and a heavy- weight inflatable. I use the foam or the light- weight pad during the height of summer when temps don’t really drop below 40 at night. The mid- weight is for spring or fall (or summer with snow on the ground), and the heavy- weight is for winter or colder snow camping in spring or fall. Usually in the height of winter, when temps are at their coldest, I’ll also bring a foam pad to put under the heavy- weight inflatable for even more insulation!
Sleeping pad ratings: For a while most manufactures tested their own materials in- house which caused chaos with sleeping pad warmth ratings. Consumers had no idea how warm their pad would be until they tried it out in the field. In 2016 a number of outdoor gear companies developed a standardized method for ranking pad warmth. This system is referred to as the ASTM F3340- 18 “R” value (or “R” value for short), and has since become the adopted rating system across the outdoor industry. It’s a simple scale ranging from R1- R6 – some pads are coming out with R6.5 or R7 ratings now!

You can find this scale on all the packaging for sleeping pads for reference when shopping.
My Sleeping Bags: I like to think of sleeping bags as the final part of my layering system. When you think of it, it’s just another insulation layer made to keep you warm. The only difference is you’re depending on this bag to keep you warm through the longest sections of inactivity during your trip, and usually when temperatures are the coldest. A good thought process is to start with what will be the coldest temperature I’m going to have on this trip, and pair that with the lightest bag you can use. If I’m going out in 30-degree temperatures I can bring out my 30-degree bag and know I’m going to be comfortable because of how I sleep. As you get more experienced you can add in little tricks like using a bag that is rated for warmer temperatures in a colder environment by sleeping in your layers. I can get away with sleeping in 20- degree temps with my 30- degree bag because I wear my mid- layer in the bag with me. Treat your sleeping bag like the final piece in your layering system!
- Winter bag: A good sleeping bag for the winter in the lower 48 should be in the temperature range of -5F for cold sleepers to 0F for warm sleepers. I like to use a down bag because if the temps are below freezing (32F) then it’s usually going to be snowing. Snow is dryer than rain and the air usually isn’t as humid, so I’m not worried about the down bag being wetted out. Also, by using down my sleeping bag is lighter than a synthetic and packs smaller. Pretty much all the time if I’m using a 0- degree bag and lower, it’s going to be down. I usually use this winter bag on trips from December thru April.
- Spring/ fall bag: As the temps start to climb, I don’t need as warm as a 0- degree bag anymore, as soon as I can I’ll switch to a lighter one. My standard recommendation for a “shoulder season,” bag is around 10F for cold sleepers to 15F for warm sleepers. This is also where it would be nice to use a synthetic bag, with the spring comes the change from snow to rain and the fall brings the first few storms of the upcoming season. This means that you will get warmer temperature storms that make rain instead of snow. I usually use this sleeping bag on trips from April-early June, and September- November.
- Summer bag: My summer bag is easily the lightest bag that I bring into the mountains with me, I try to switch into it as soon as I can for the season and stay in it as long as possible. I like to use a 30- degree down bag that packs down to the size of one and a half Nalgene bottles. It also only weighs a staggering 1.5 pounds! I usually use this bag for trips starting in mid to late June thru August and even early September.
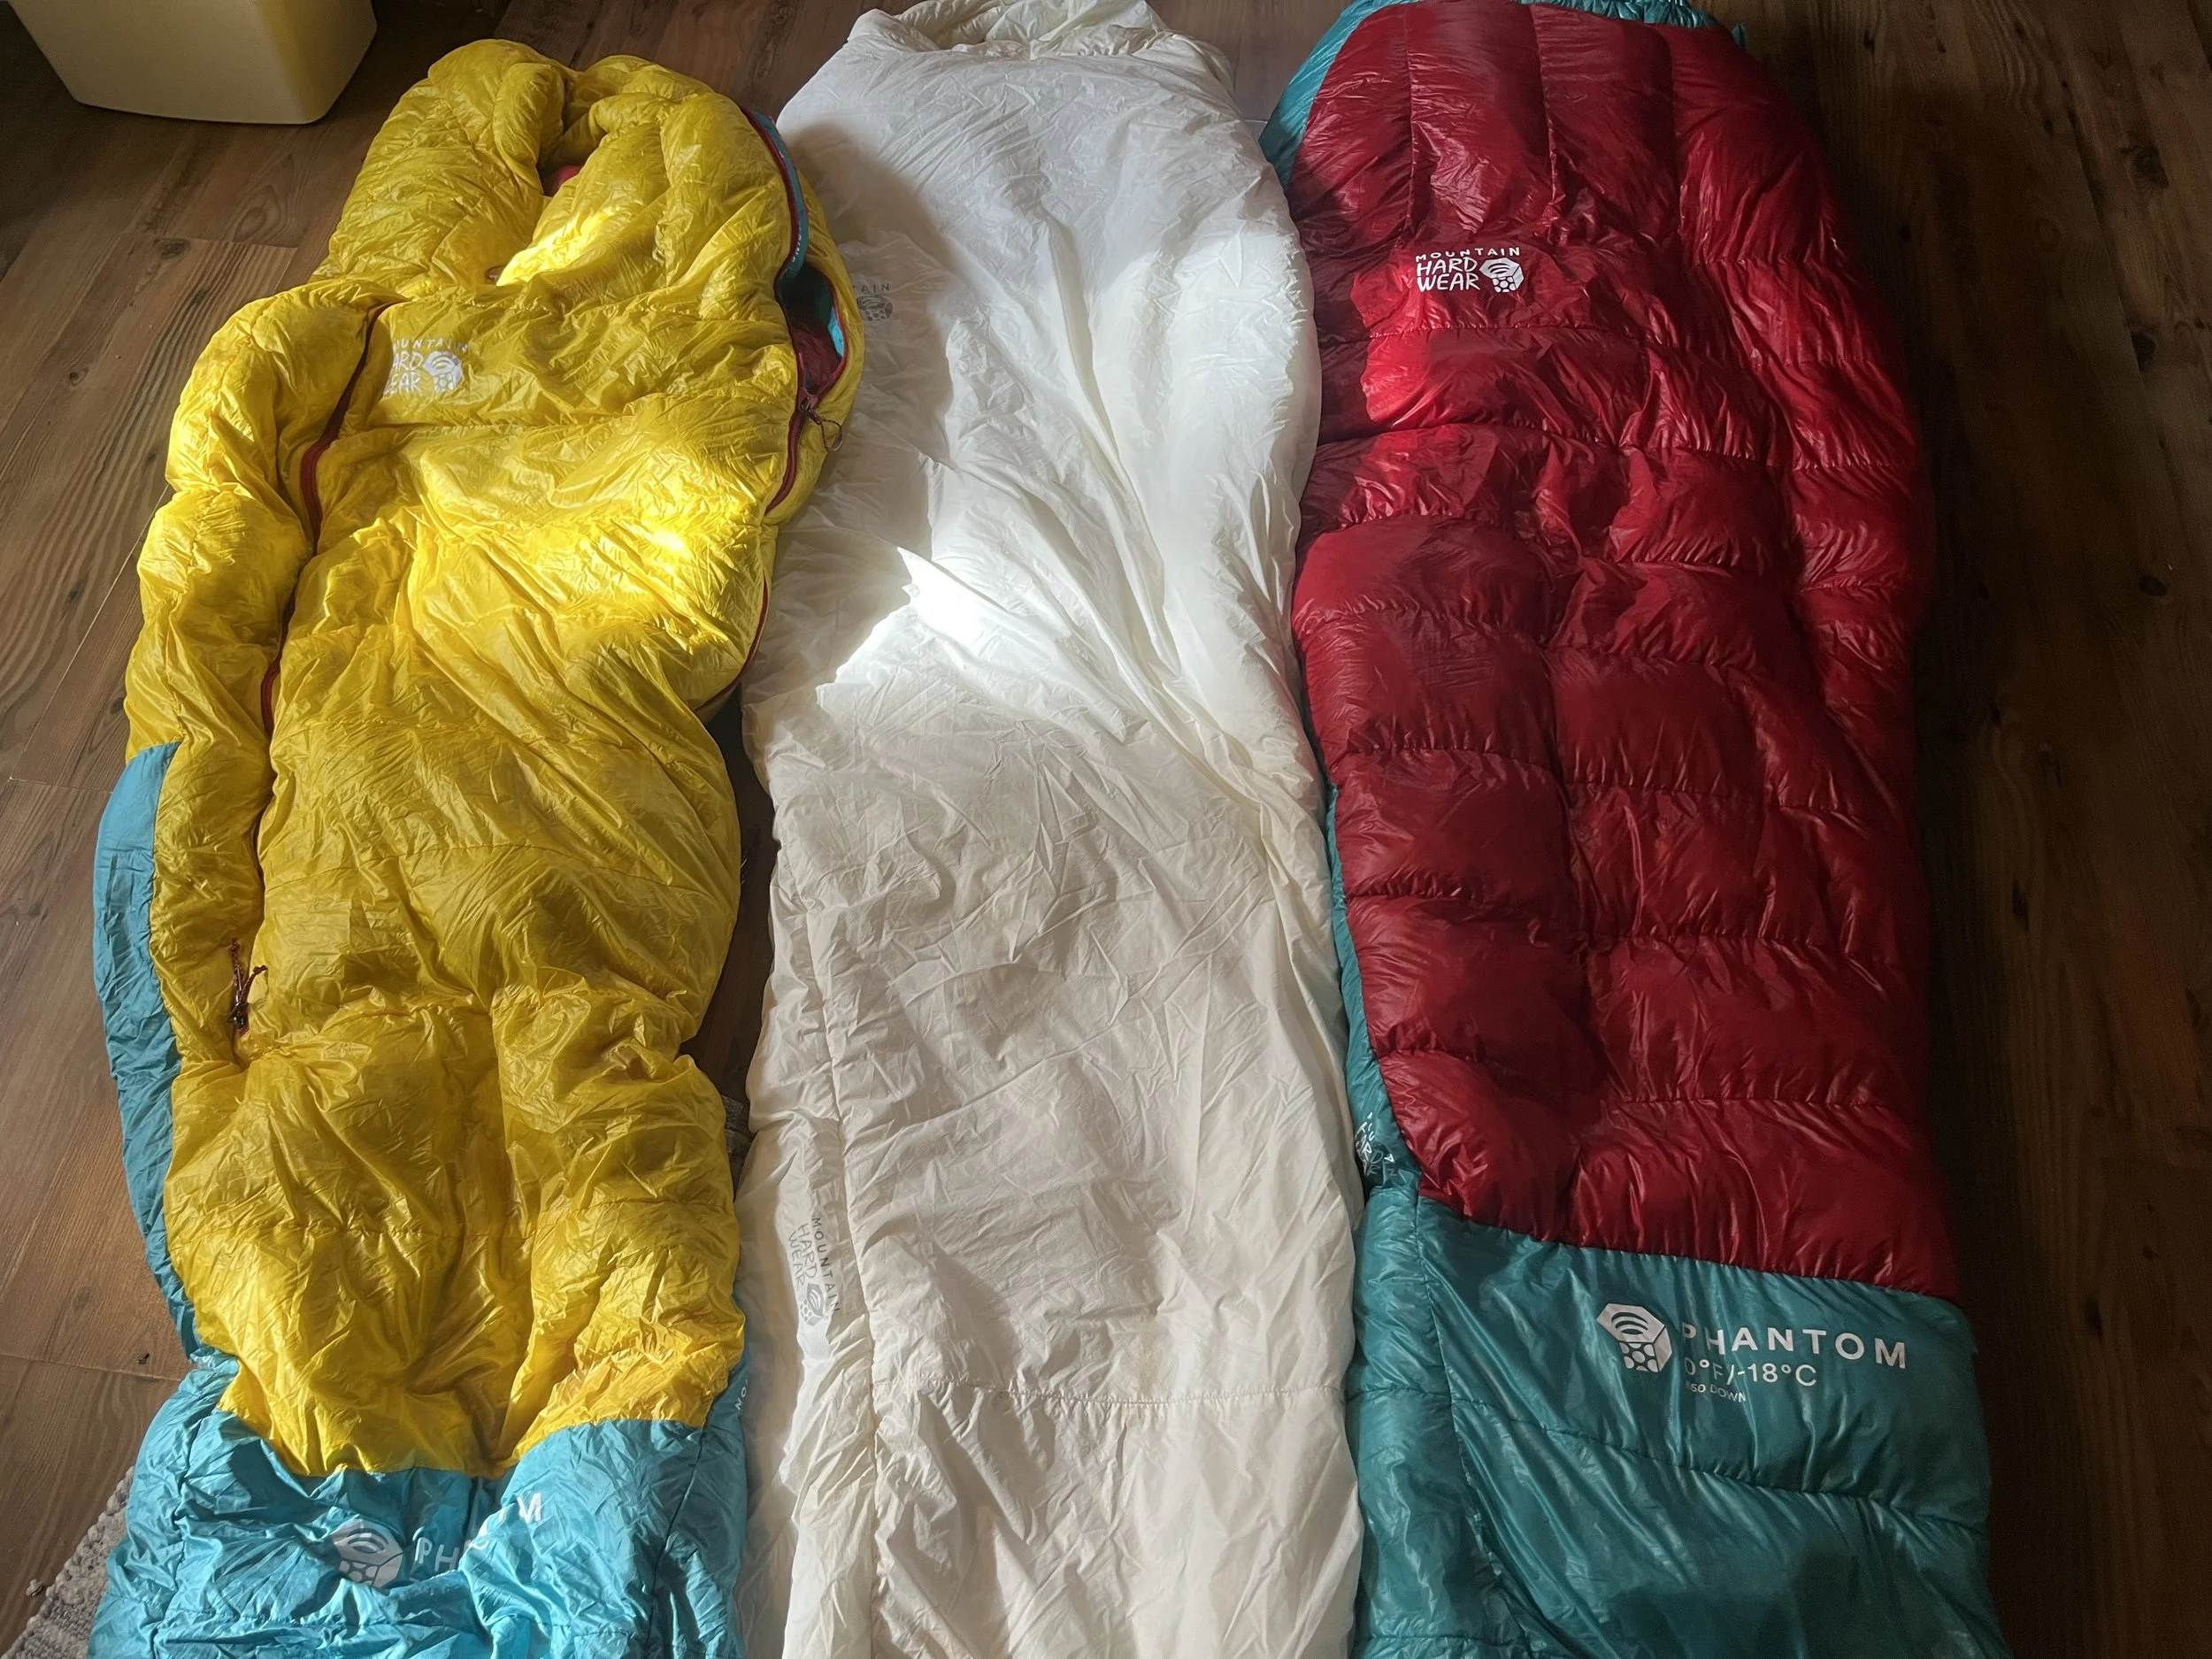
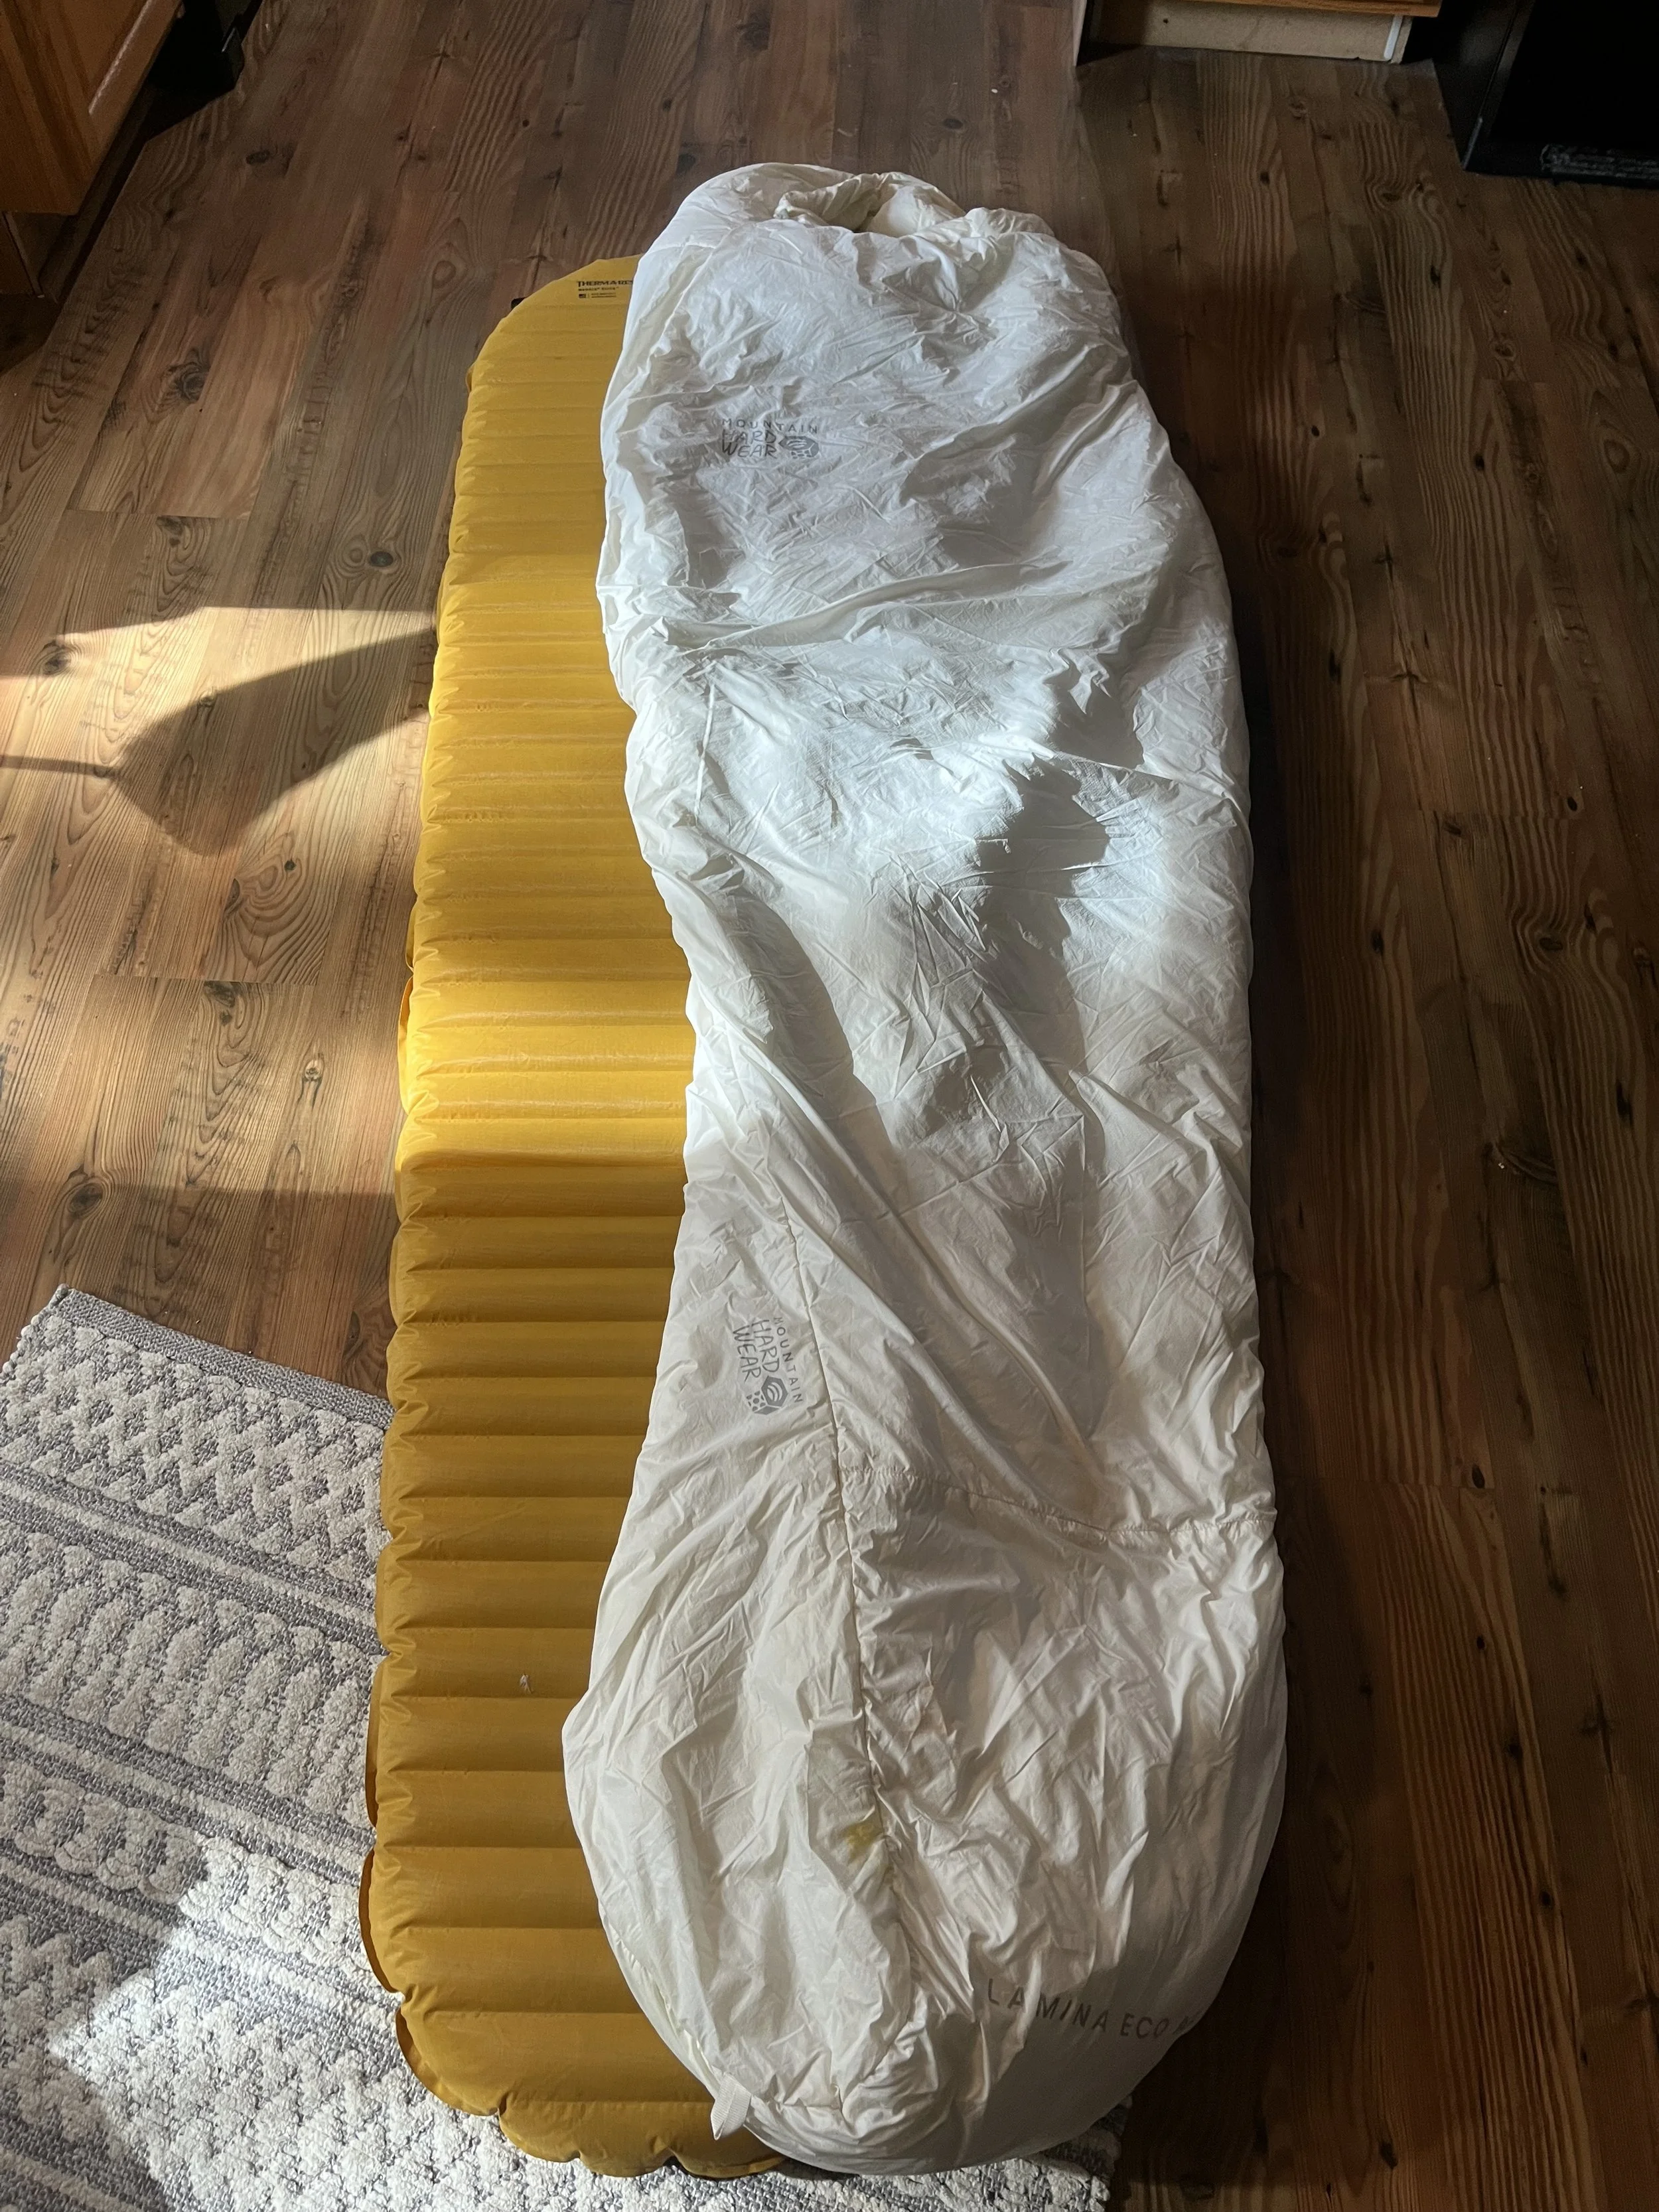
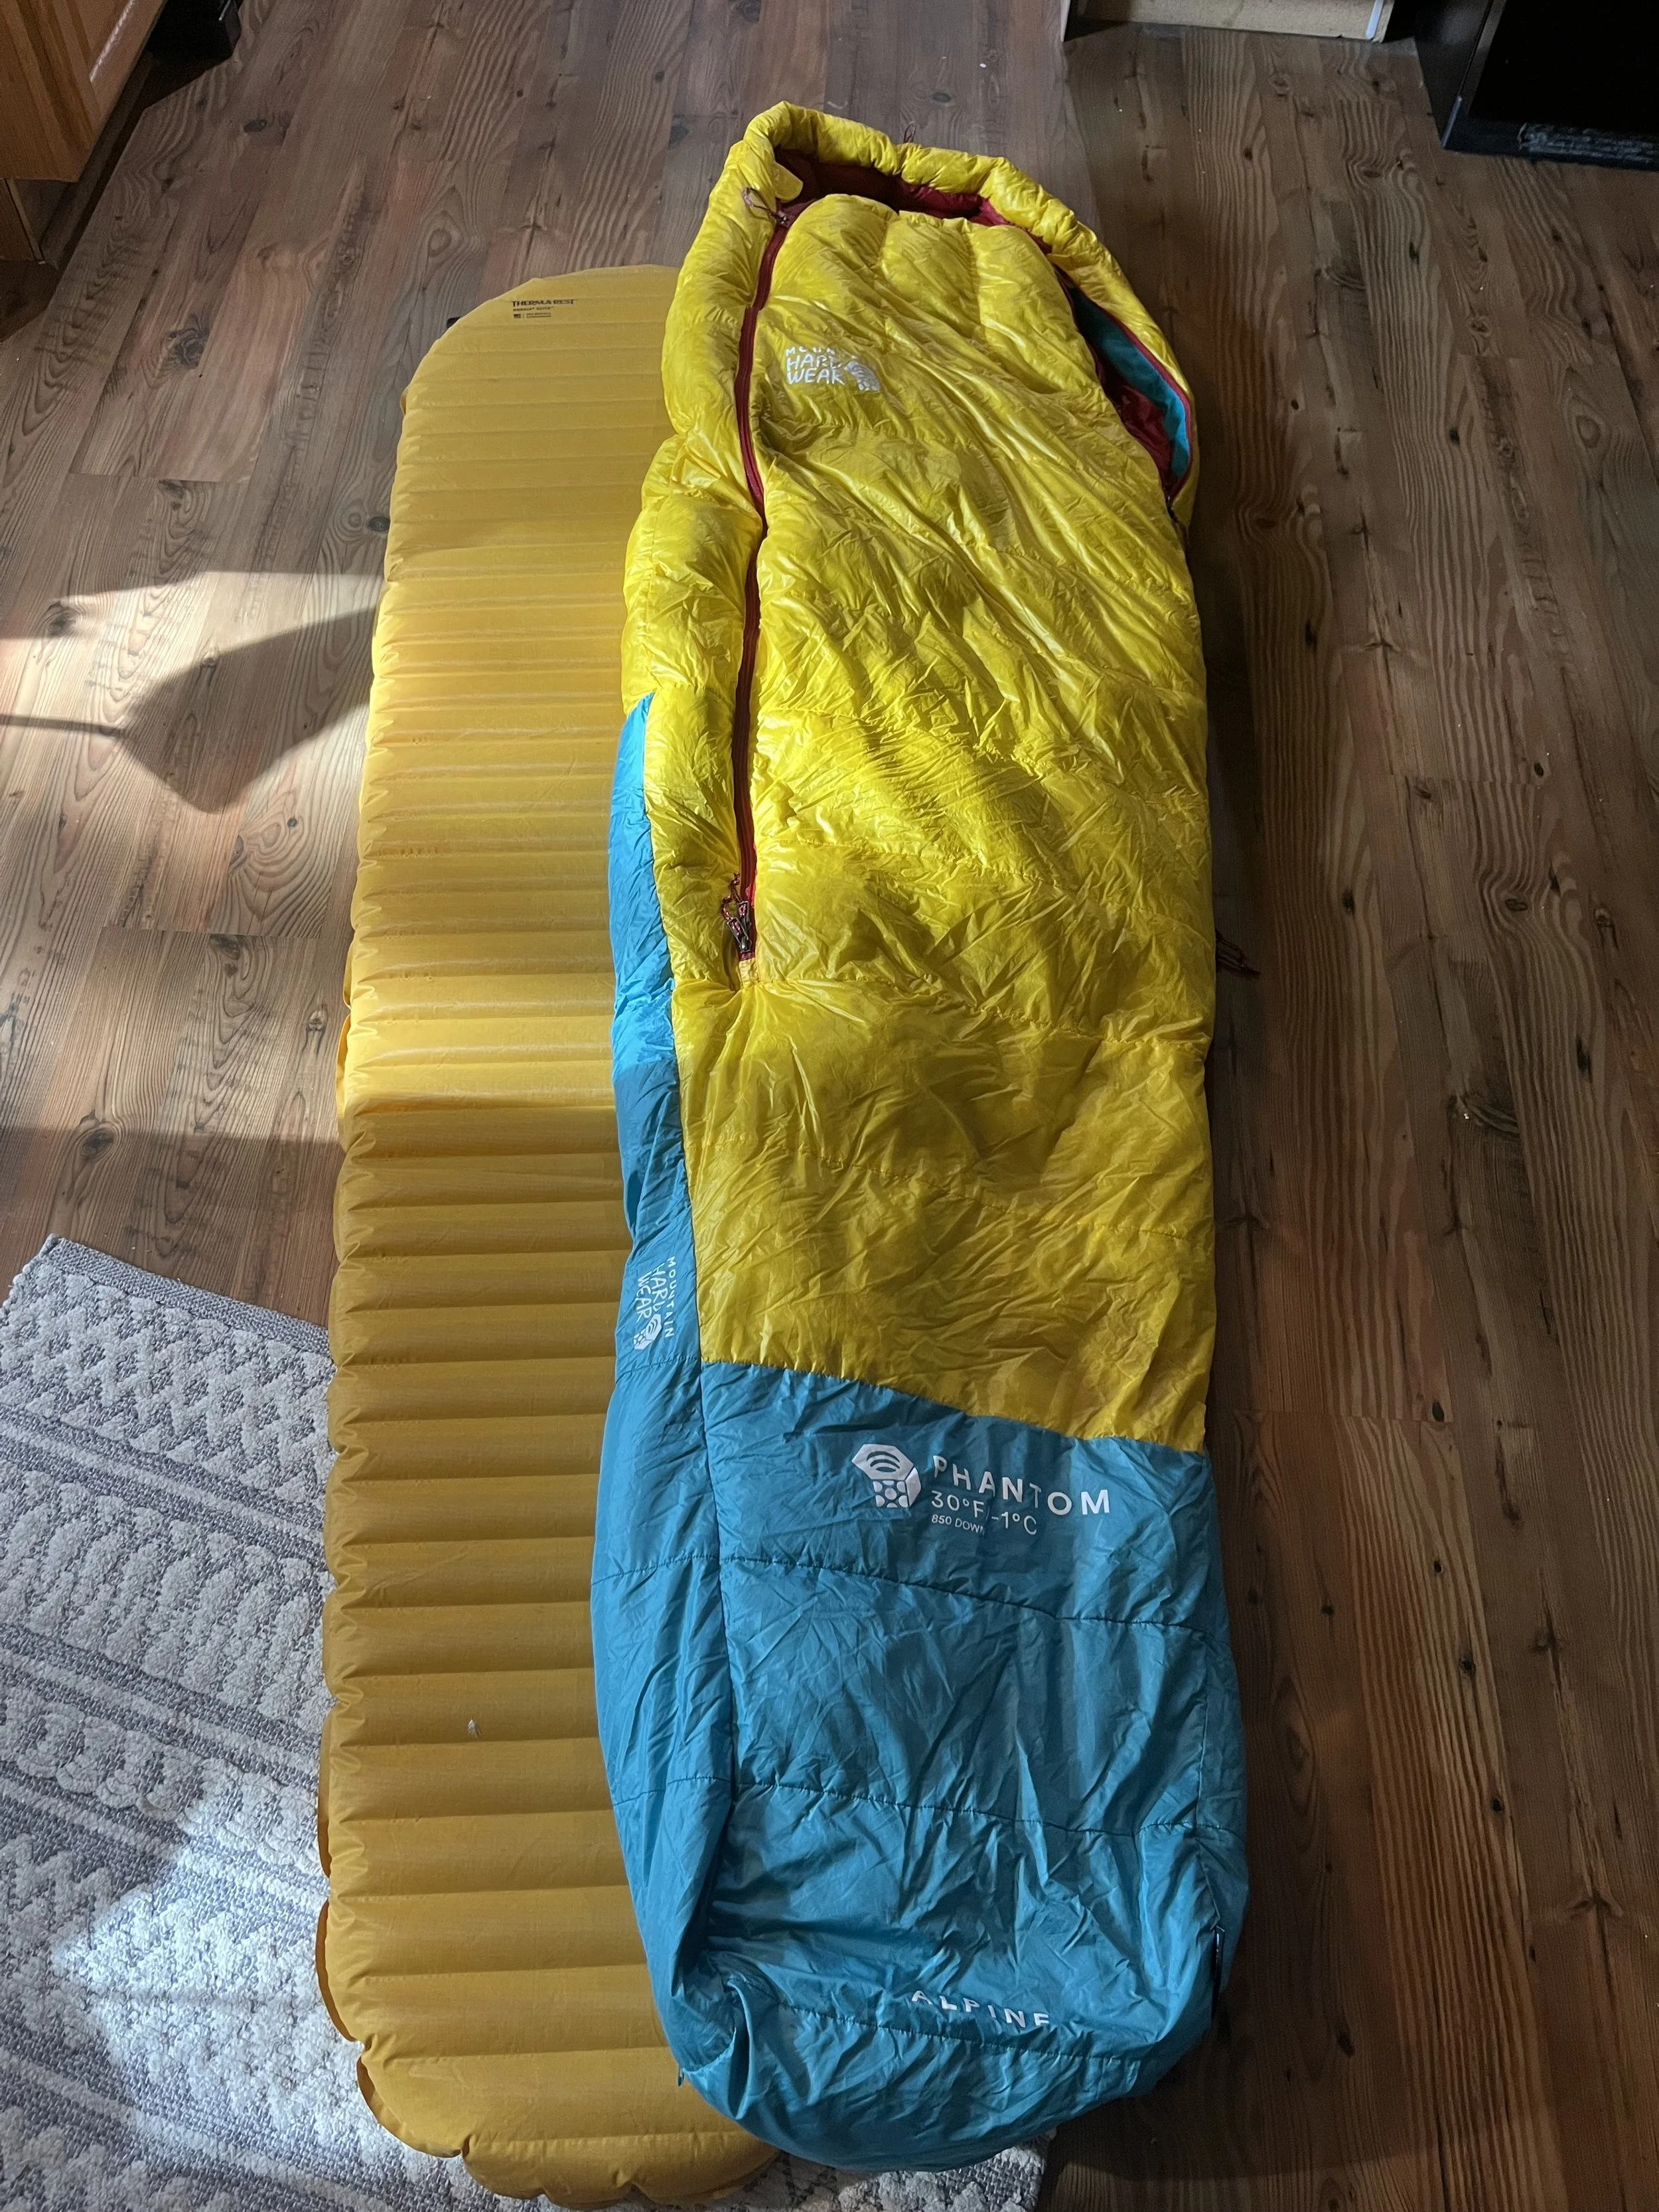
Left to right: 30-degree bag (Phantom alpine 30), 15-degree bag (lamina eco AF 15), 0-degree bag (Phantom 0)
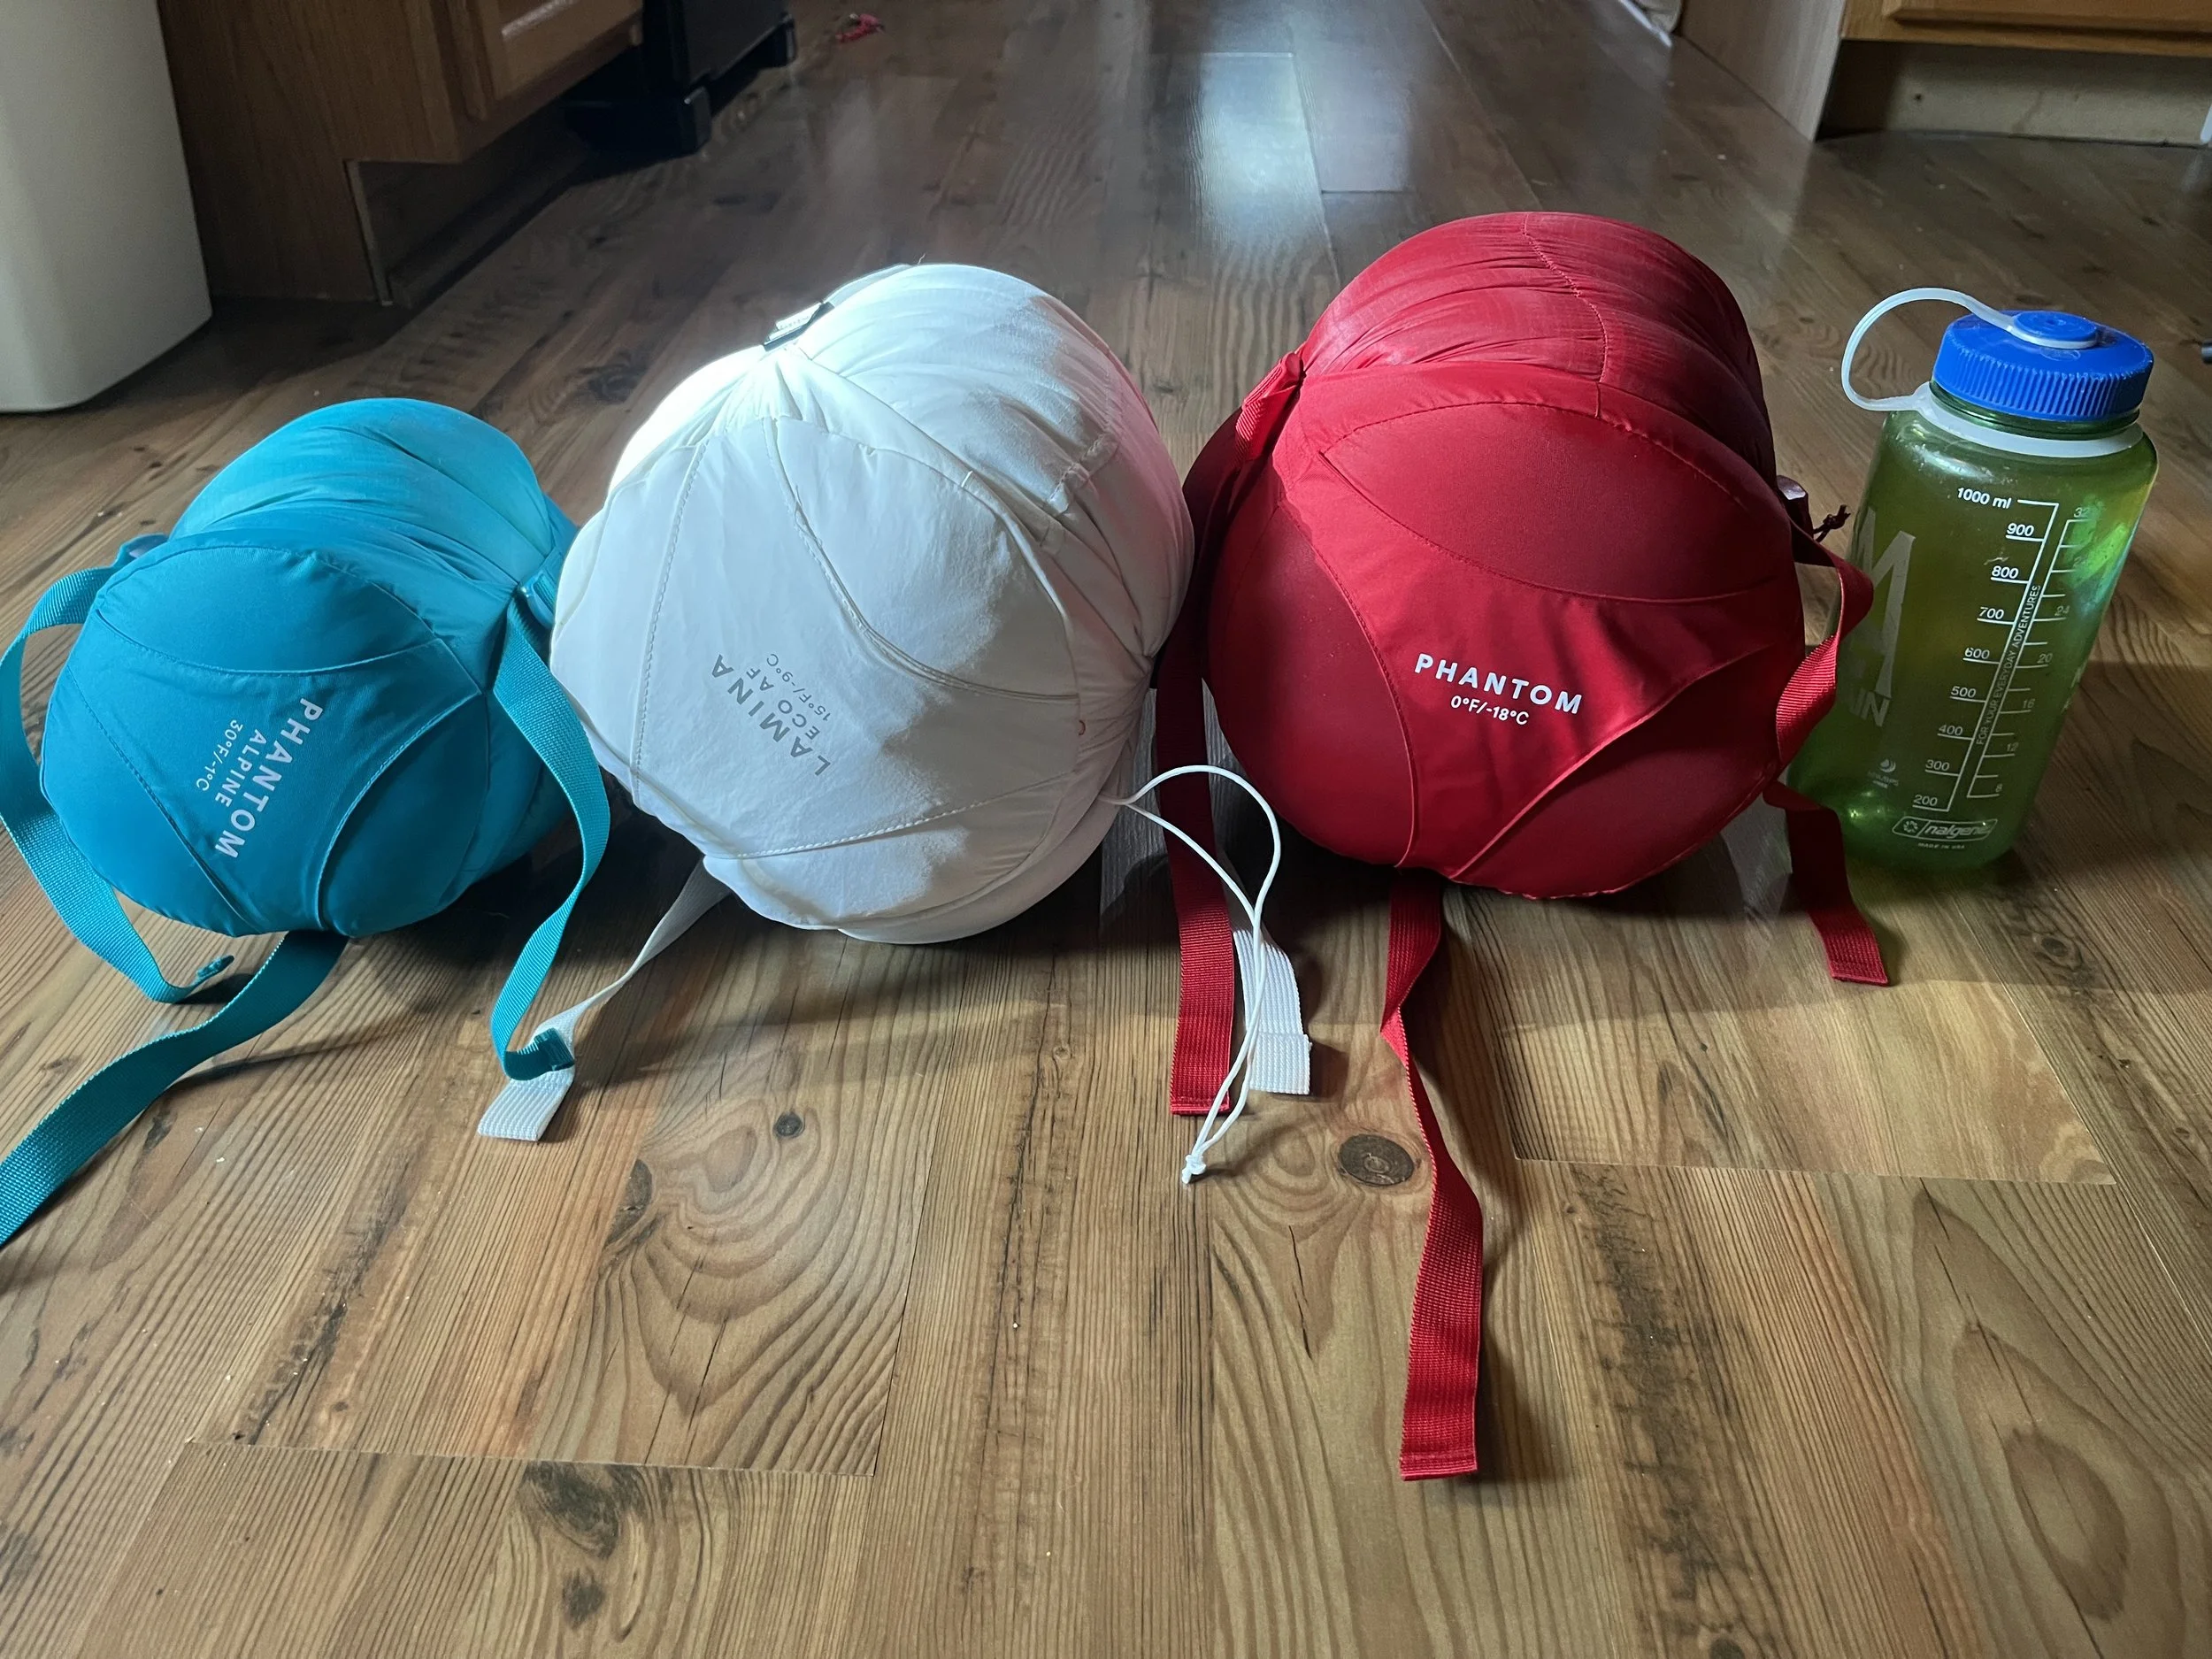
All the bags in compressed form- Left to right: Phantom alpine 30, lamina eco AF 15, Phantom 0- Nalgene water bottle for scale.
The Sleeping Bags I use:
Sleeping bag Temperature rating Material Weight Months
Mountain Hardwear Phantom 0 0- degree Down 2lbs 10oz (1208g) December- April
Mountain Hardwear Lamina eco AF 15 15- degree Synthetic 2lbs 6oz (1090g) April-June & September- November
Mountain Hardwear Phantom Alpine 30 30- degree Down 1lbs 7oz (678g) June- September
My Sleeping Pads: The sleeping bag is only as good as the pad, you can have the warmest rated bag sleeping on the ground, and you’ll still be shivering. I like to start with pairing up my pad to the season, then if I can get away with bringing a lighter pad I will.
- Winter pad: I guess this should actually say “sleeping pads,” because in the height of winter I usually bring out two pads: one inflatable and one foam. The Inflatable pad is a high of an “R” value I can get. Usually around a 6 or higher, Therm-a-Rest, and big Agnes both make good options. The foam pad is usually the type that has little dimples in it as opposed to a smooth one, the dimples help add “R” value so the pad is usually a little warmer. Therm-a-Rest and Nemo both have good options for that. I’ll layer the foam pad under the inflatable and sleep on top of that, in addition the foam pad also makes a good seat when I’m outside of the tent in the morning or evening.
- Spring/ fall pad: My most commonly used spring pad is a mid- weight inflatable pad with an “R” value of around 4.5-5. I like an inflatable pad because it packs down small so I can fit it fully in my backpack and it’s still warmer than a foam pad.
- Summer pad: My summer pads switch between a foam pad and a light- weight inflatable. The foam pad I usually use for base camp trips- where you set up a camp to stay at throughout the course of your trip. I use the light-weight inflatable (“R” value of about 2.5) for technical trips when you need to carry your overnight pack throughout the entire time.
The Sleeping Pads I use:
Sleeping Pad. R- value Material Weight Season
Therm-a-Rest Z lite sol 2 Foam 14oz (396g) Summer
Therm-a-Rest Neoair Uberlite 2.3 Inflatable 8.8oz (249g) Summer
Therm-a-Rest Neoair Xlite 4.5 Inflatable 13oz (368g) Fall/ Spring
Therm-a-Rest Xtherm 7.3 Inflatable 1 lbs (453g) Winter
Now that we’ve talked about both bags and pads, it’s time to put them together. This can be as simple as pairing your winter pad with your winter bag if it’s winter. However, if you’re bringing out your full winter kit with you on a spring trip, you may be carrying an overkill system for the conditions you’re going to get. That is where the true magic of mixing and matching comes in! One item can compensate for the other, for example I can get away with bringing a lighter weight sleeping pad if I have a heavier bag. If the air temp is going to be warm but I’m sleeping on snow then I could bring a beefier pad but a lighter sleeping bag. I’ve developed a system of switching gear in and out as the season progresses which helps save weight on my back while still staying comfortable.
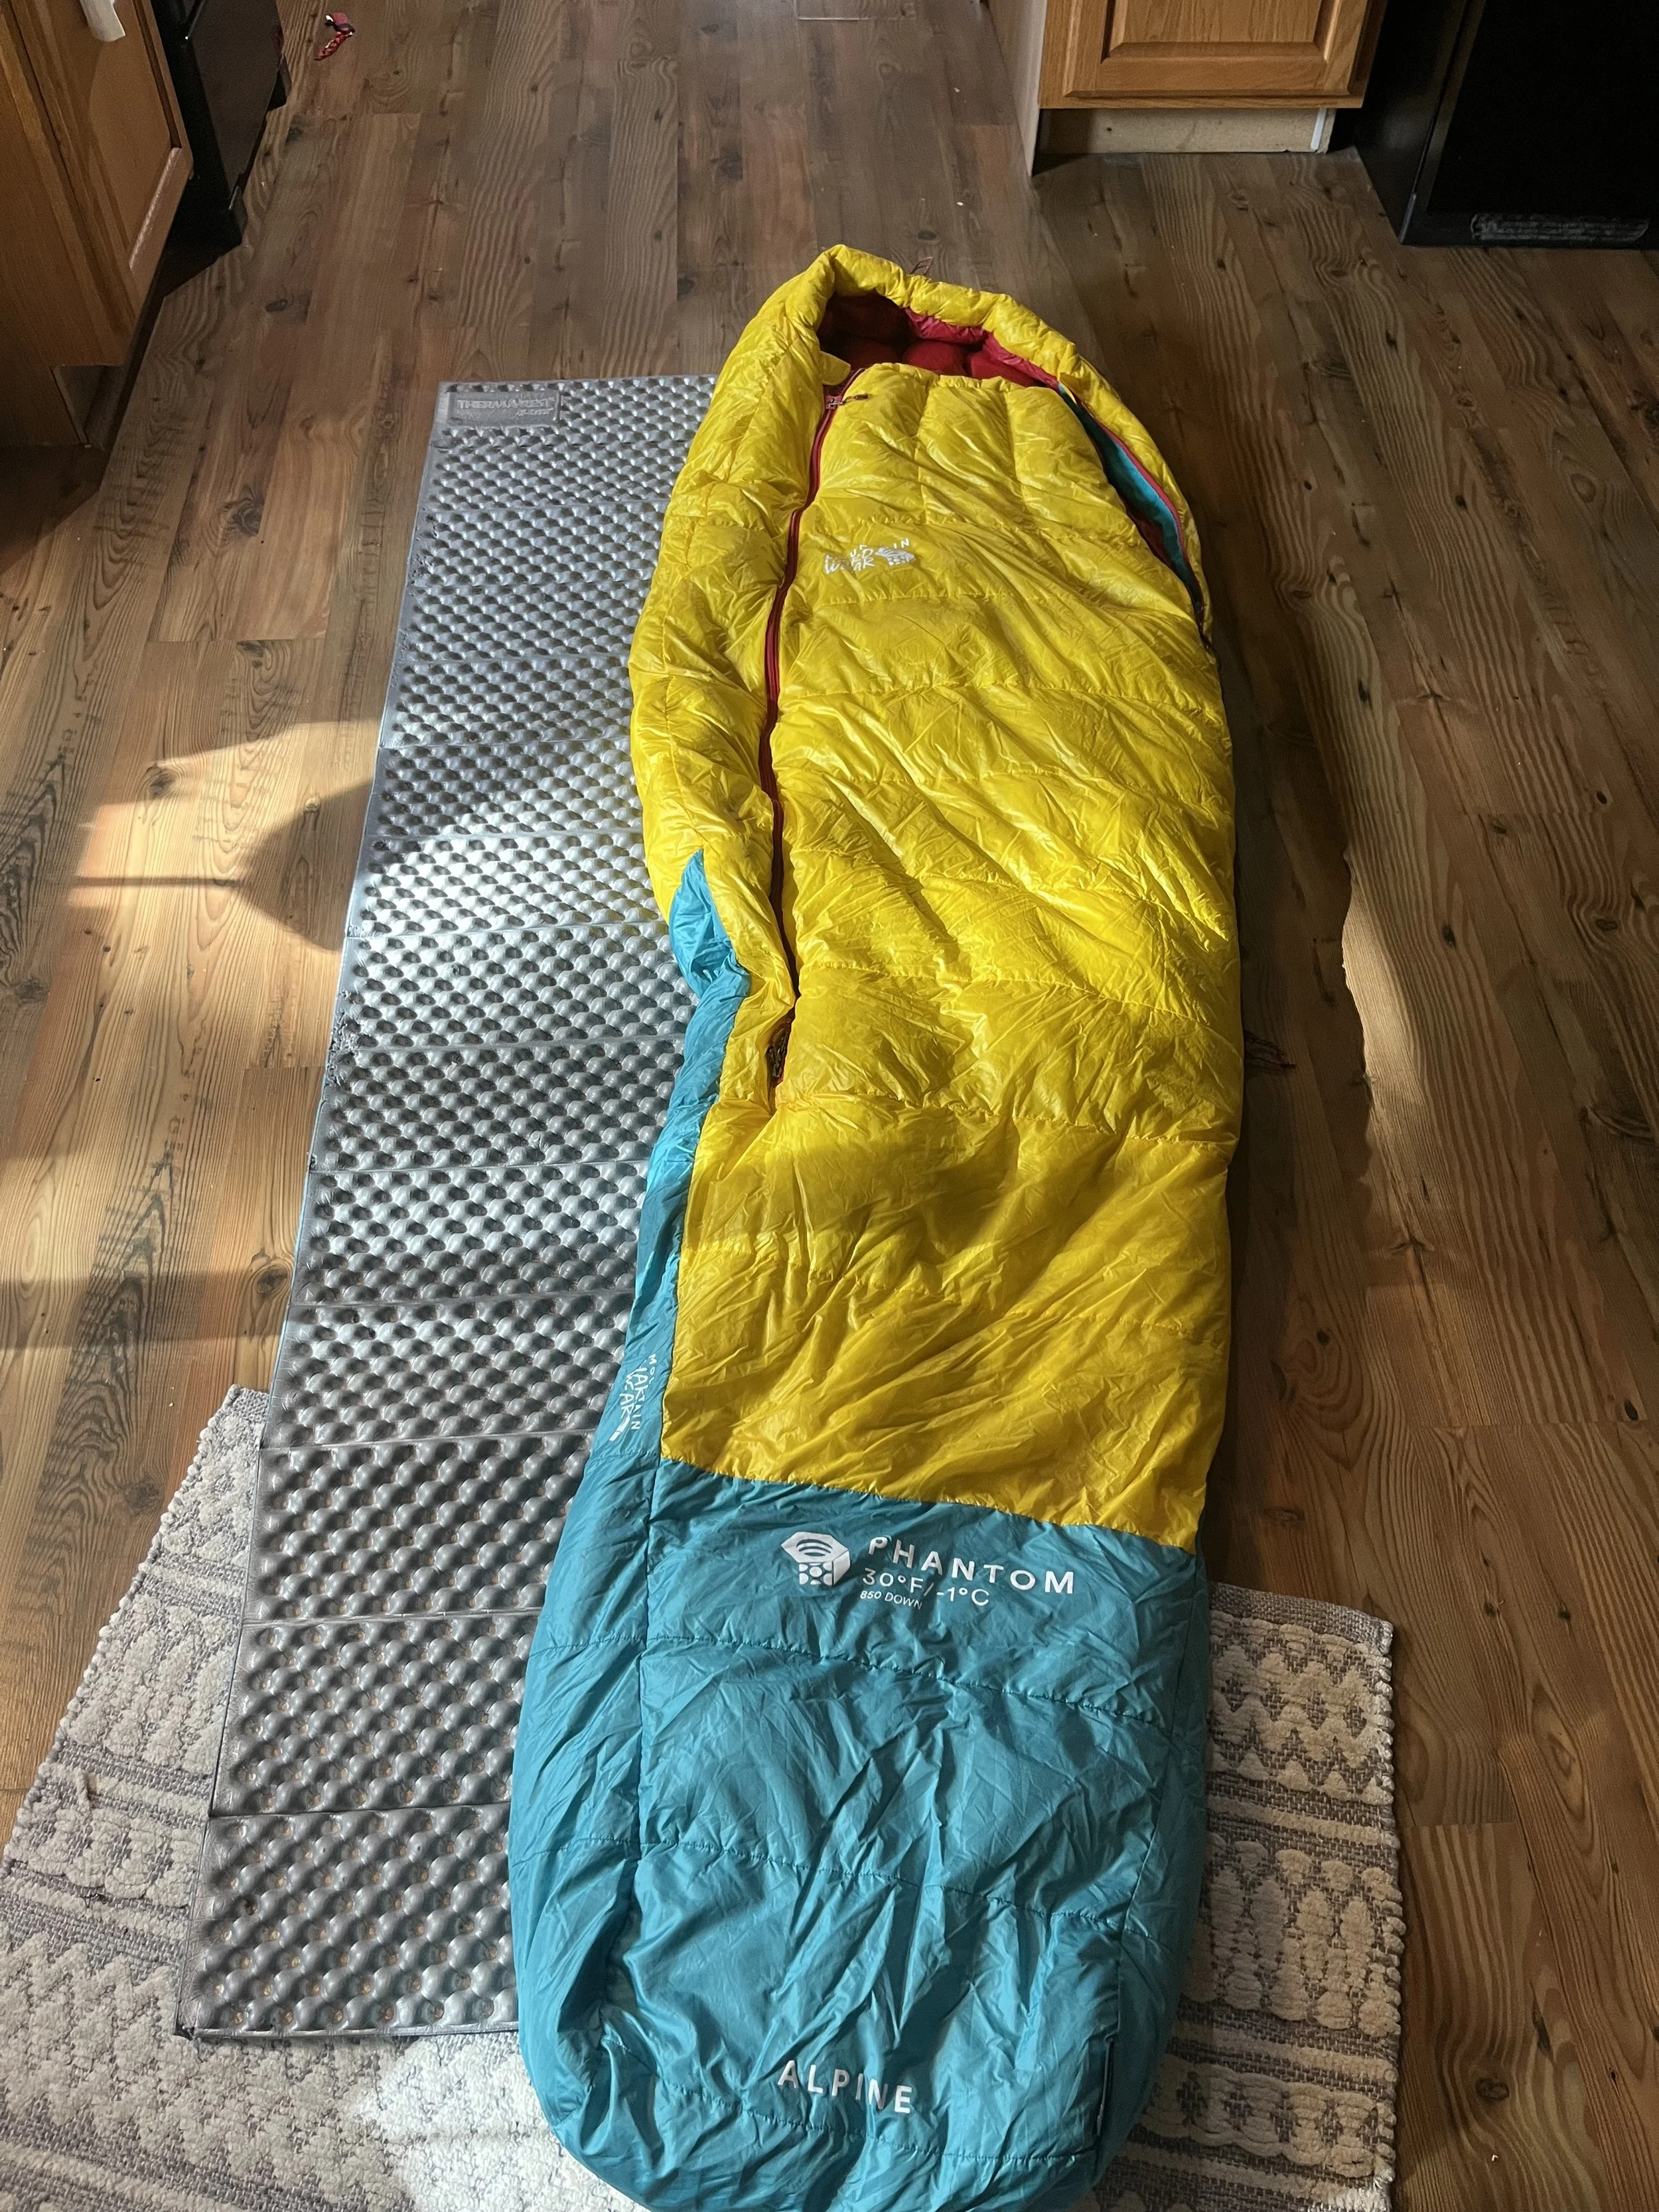
Winter Sleeping System: When I’m sleeping outside in the winter, I want to be warm! The only time of the trip when you’re warm and comfortable is in your sleeping bag. Not to mention that it’s a safety hazard if you have nowhere to go and get warmed up in the winter environment. You’ll find me out there with a foam pad, my warmest inflatable pad, and my 0- degree sleeping bag. I like to use the Therm-a-Rest Z- lite Sol (R value 2), the Therm-a-Rest Neoair X- therm (R value 7.3), and my Mountain Hardwear Phantom 0.

Spring/ Fall Sleeping System: The spring and fall are usually the times when I switch gear around a lot, in the start of the spring I’m usually in the X- therm and my 15- degree bag. As the temps start to warm, I’ll switch the X- therm to the Therm-a-rest Neoair Xlite (R value 4.5). In late spring I’ll usually keep the Xlite and switch my sleeping bag from the 15 to the 30- degree. In the fall I’ll do the same process but in reverse.
Cold spring sleeping set up
Warmer spring sleeping setup
Late spring/ early summer sleeping setup
Summer Sleeping System: My summer sleeping system is where I go light, the nights don’t get cold and you’re sleeping on ground instead of snow! I’ll have my 30- degree bag and pair that with either my foam pad, or if I’m on a big mission where I have to carry my overnight gear on route, I’ll pull out my Neoair Uberlite (R value 2.3).

Inflatable light weight pad for technical alpine routes.
foam pad set up for more basecamp alpine routes.
Month: Bag: Pad:
January 0- degree Foam and heavy inflatable
February 0- degree Foam and heavy inflatable
March 0- degree Foam and heavy inflatable
April 0 or 15- degree (depending) Foam and Mid inflatable
May 15- degree Mid inflatable
June 15 or 30- degree (depending) Mid inflatable
July 30- degree Light inflatable or foam
August 30- degree Light inflatable or foam
September 30 or 15- degree (depending) Mid inflatable
October 15- degree Mid inflatable
November 15 or 0- degree (depending) Heavy inflatable
December 0- degree Foam and heavy inflatable
It’s worth keeping in mind that you can still get winter type conditions in spring, and fall conditions in summer sometimes. I may choose to bring out a sleeping system that would be more akin to winter conditions in the early spring because it feels more like winter!
Conclusion: Everyone researching outdoor equipment has heard the phrase: “light is right,” or “the lighter your kit is, the faster you can move through the mountains,” and the ever popular “speed is safety.” While those mantras aren’t necessary incorrect, they for sure do not apply to every situation! By abiding to these outdoor “buzz phrases,” many people have gotten themselves into quite a bit of trouble without any safety net. Having a shelter to go back to after getting pounded by the weather outside is hugely important to stay safe in the mountains. Your sleeping system isn’t just for having a good night’s sleep, it is your sanctuary to warm back up after a hard day. Your sleeping system will prove invaluable when you need to replenish yourself after getting soaked on your climb! Hopefully this article helps with selecting your sleeping pad and bag for your next adventure!